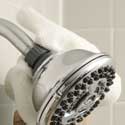
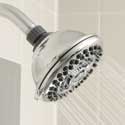
How to Install or Change Your Waterpik™ Shower Head
Tools You May Need To Change Your Shower Head
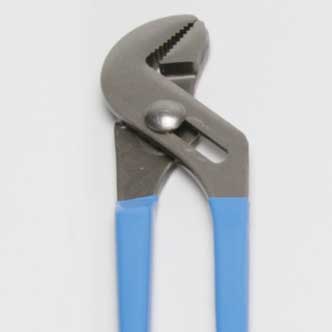
An adjustable wrench or pliers to remove the old shower head
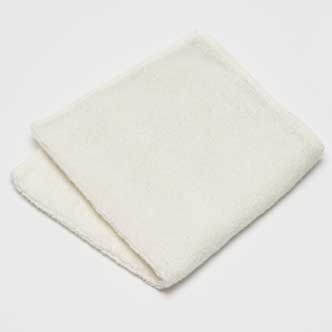
A cloth or towel to avoid scratching the finish

For some models that use a slide bar or strip, a level and masking tape help ensure proper installation.
Step 1. Remove the Old Shower Head
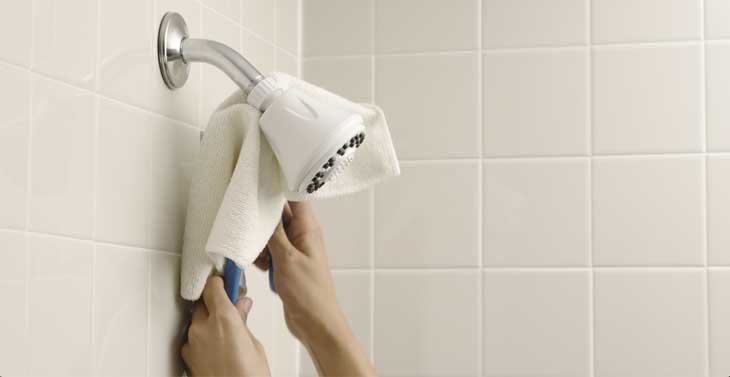
Unscrew the old shower head, turning counterclockwise
If it is difficult to remove the shower head, try using the wrench or pliers. To avoid scratching the finish, wrap your cloth around the pliers. Review our How to Remove an Old Shower Head support article for more tips.
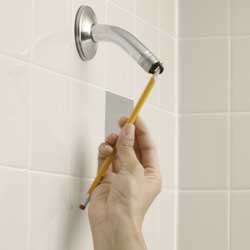
After removing the old shower head, check for washers in the shower pipe using a pencil or screwdriver (do not use your fingers).
Step 2. Clean Shower Pipe
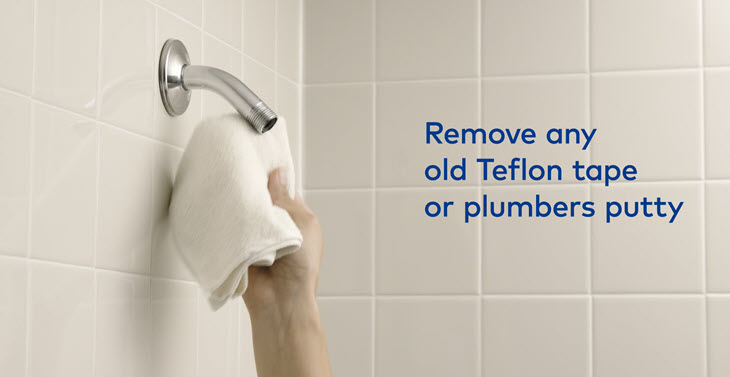
Clean any remaining putty or tape from the pipe threads.
Step 3. Connect Your Waterpik™ Shower Head
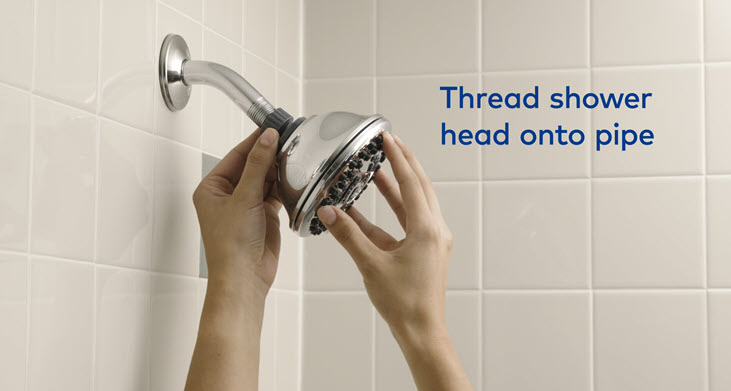
To install the new shower head screw it onto the shower pipe, turning in a clockwise direction.
Hand tighten the connection until it is snug, but do not to overtighten. Unless otherwise instructed by the manual that came with your shower head, do not use plumber's tape or putty.
If the shower head has a hose, connect the included shower bracket to the pipe, then attach the shower hose to the bracket and shower head.
Installation Tips:
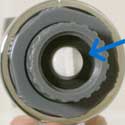
Always check that washer is in place in the threaded connection of the new shower head.
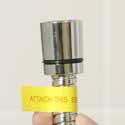
If the shower head includes a hose, tags tell you where to connect the ends to the bracket and the shower head.
Troubleshooting Tips
Turn on the shower head to test the spray. If the water does not flow or there are leaks, see the following tips.

• If there is no water flow, confirm that the previous shower washer is not in the shower pipe. Use a pencil or screwdriver to check as shown in Step 1 above.
• If there are any leaks, turn off the water and check our Tips for Leaks information.
Tips for Leaks:
Tighten Connections
Hand tighten the connections and ensure they are snug. You may use the wrench with cloth on the connection to the pipe, but do not overtighten.
Remove Old Pipe Tape
If the leak is at the shower pipe, old tape or putty can interfere with the connection.
Seal With Bar Soap
If the leak is at the shower pipe, grate bar soap across the shower pipe threads to act as a sealant.
One More Test
Test again. If there are no new leaks, you can now enjoy your shower head!
Shower Head Installation Resources
For detailed instructions for all shower head types, check our videos or manuals.